Netcloud24 prepares your server environment from A to Z. We configure Windows Server, RDS, user accounts, VPN access and backups for the agreed service. You do not need to configure the server yourself. The steps below only show how to use your ready-made access on your own computer. See how your team works through RDS from Windows and Mac.
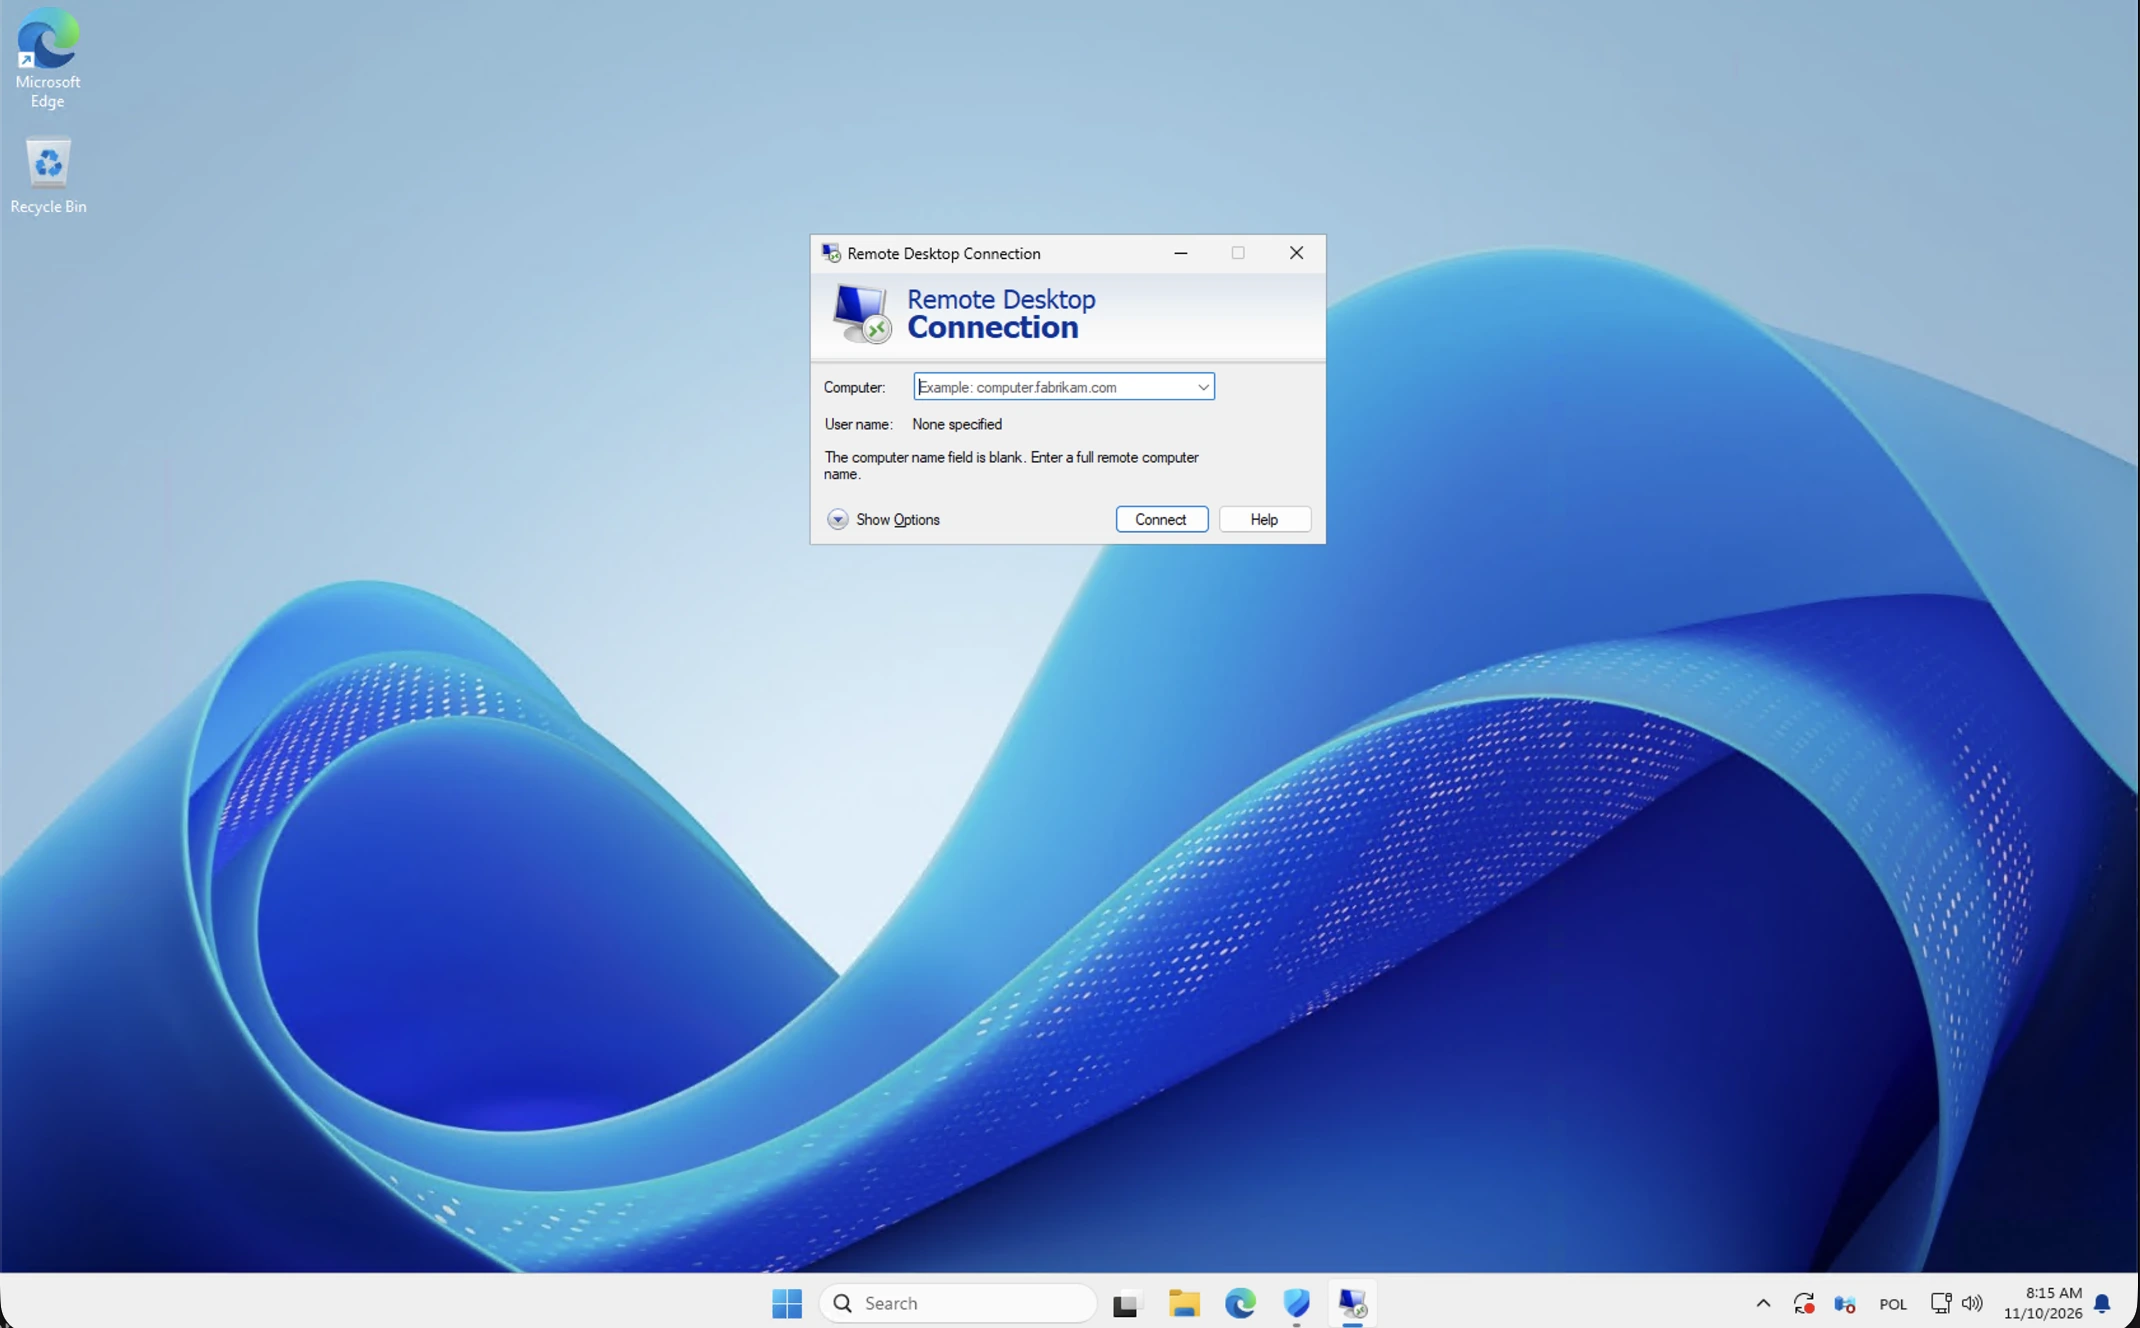
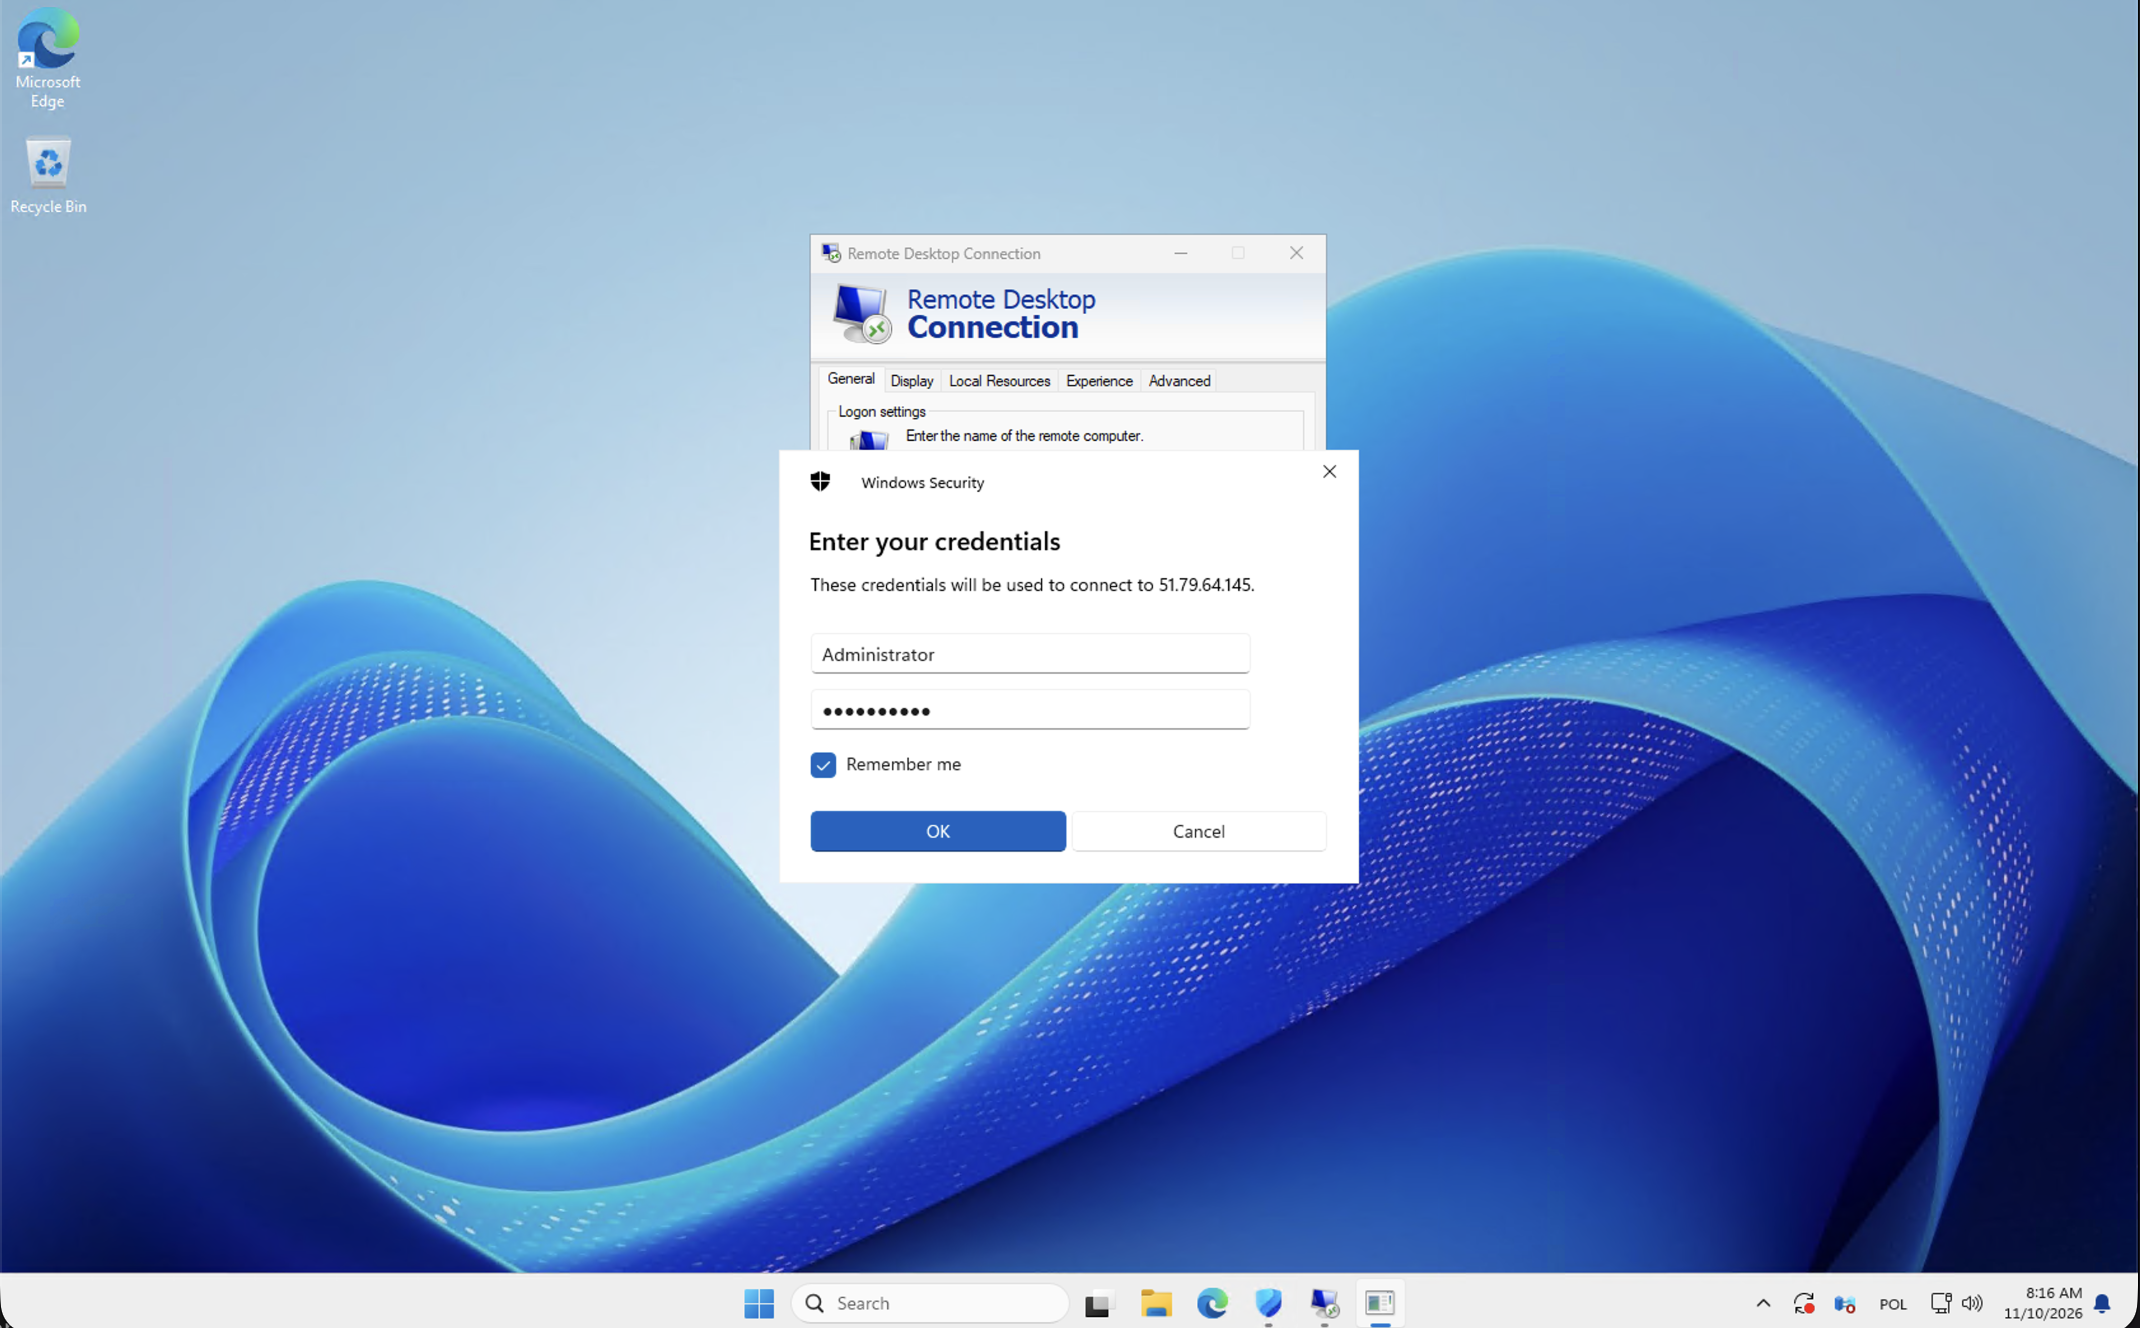
This illustrated walkthrough shows how to open Remote Desktop Connection on Windows, enter the address of a Windows VPS and supply the account assigned for that server. The four screenshots follow the actual connection sequence: a Windows desktop, the connection window, an empty credentials prompt and a completed sign-in form.
Use the server address and account from your own service handover. The address visible in the screenshots belongs to this walkthrough and is not a shared destination for other customers. The final image shows the form ready to submit; a successfully opened remote session is verified in the checks described below.
What you need before starting
Have the approved server hostname or address, your assigned username and the password supplied through the agreed secure channel. Your account must be allowed to sign in to the intended server, and the server must be prepared for the required Remote Desktop access. Opening the client on your computer does not configure access permissions or licensing on the server.
If your service uses a VPN or RD Gateway, obtain those connection instructions before proceeding. Connect through the approved access route rather than guessing a different port or disabling a protection when a direct connection does not work. Confirm that the computer you are using is suitable for company work and that other people cannot reuse its saved sign-ins.
The screenshots use the classic Windows Remote Desktop Connection client, also known as mstsc.exe. Labels can differ slightly between Windows releases or display languages. For broader access guidance, including macOS, see connecting to a Windows VPS from your own device.
1. Start from the Windows desktop
The first screen is the desktop before the Remote Desktop client is opened. This is the computer from which the connection will be initiated. The wallpaper or desktop icons do not identify which remote server will be reached; that selection happens in the client.
Open Start and search for Remote Desktop Connection. Alternatively, press Windows + R, enter mstsc and confirm. You can also run the following command from an ordinary Windows command window:
mstscStarting the client normally does not require changing server settings or giving the local application elevated administrator privileges. If Windows cannot find it, check the supported Microsoft client installation for the device rather than downloading a similarly named program from an unfamiliar source.
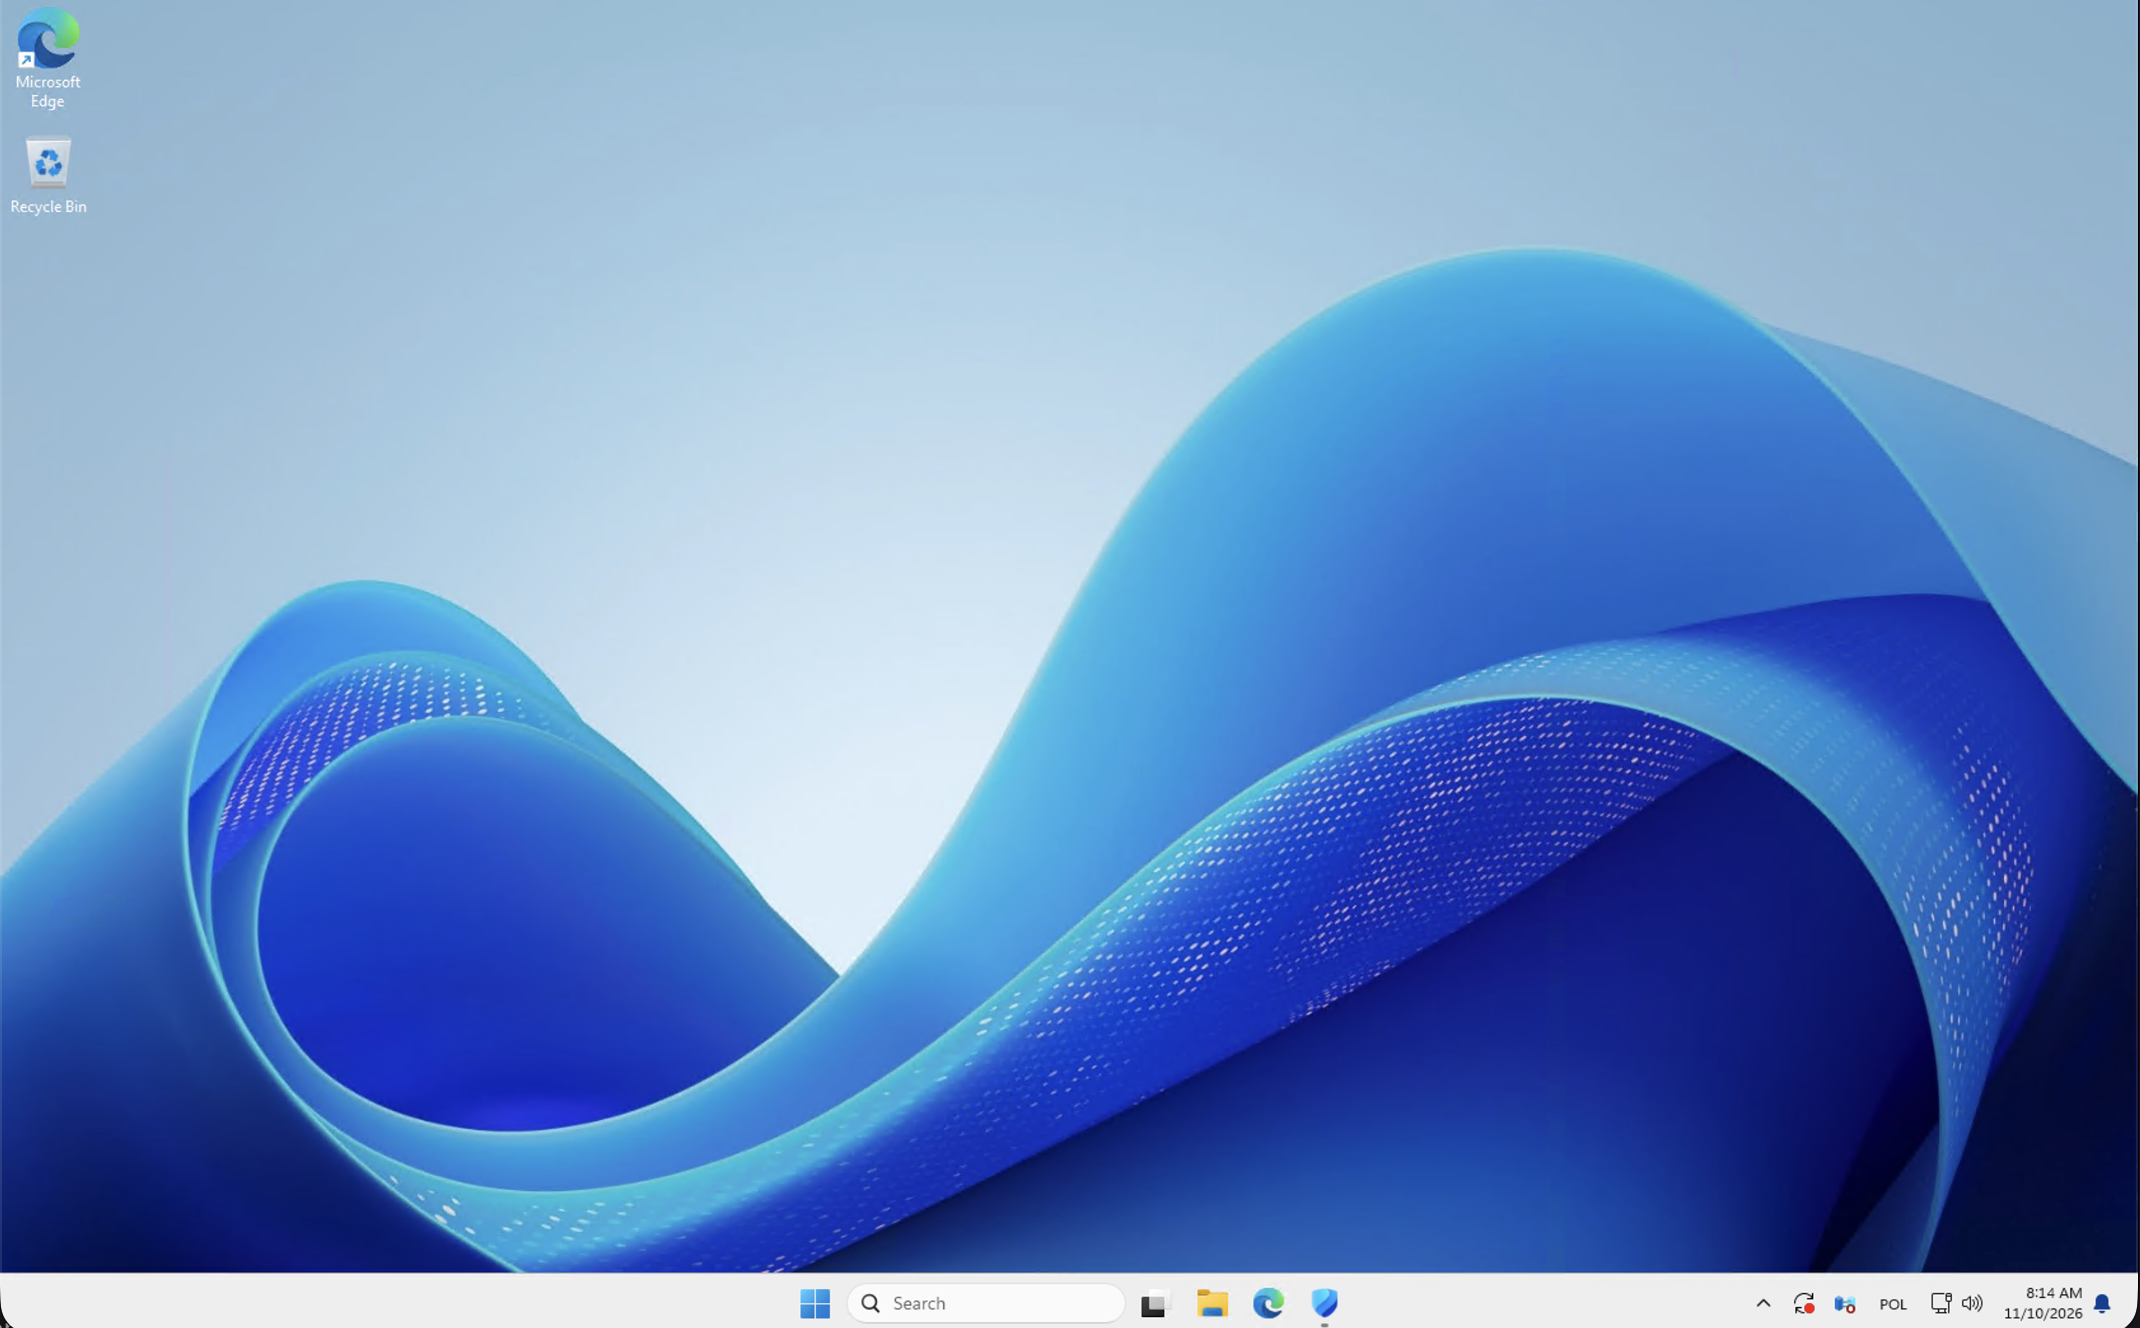
2. Enter the address of your Windows VPS
The second screenshot shows the Remote Desktop Connection window with an empty Computer field. The visible message says that the computer-name field is blank. At this stage, that message concerns the missing destination; it does not establish that the VPS is unavailable.
Enter the exact hostname or address assigned to your service. Remove accidental spaces copied from an email or document. If the handover specifies a custom connection address or gateway configuration, follow that format. An invoice label or an informal server nickname is not necessarily a resolvable connection name.
Select Connect once the destination is correct. The Show Options control opens settings such as display and local-resource choices. Those options can be reviewed according to your work requirements, but they are not a substitute for the correct server address and an authorized account.
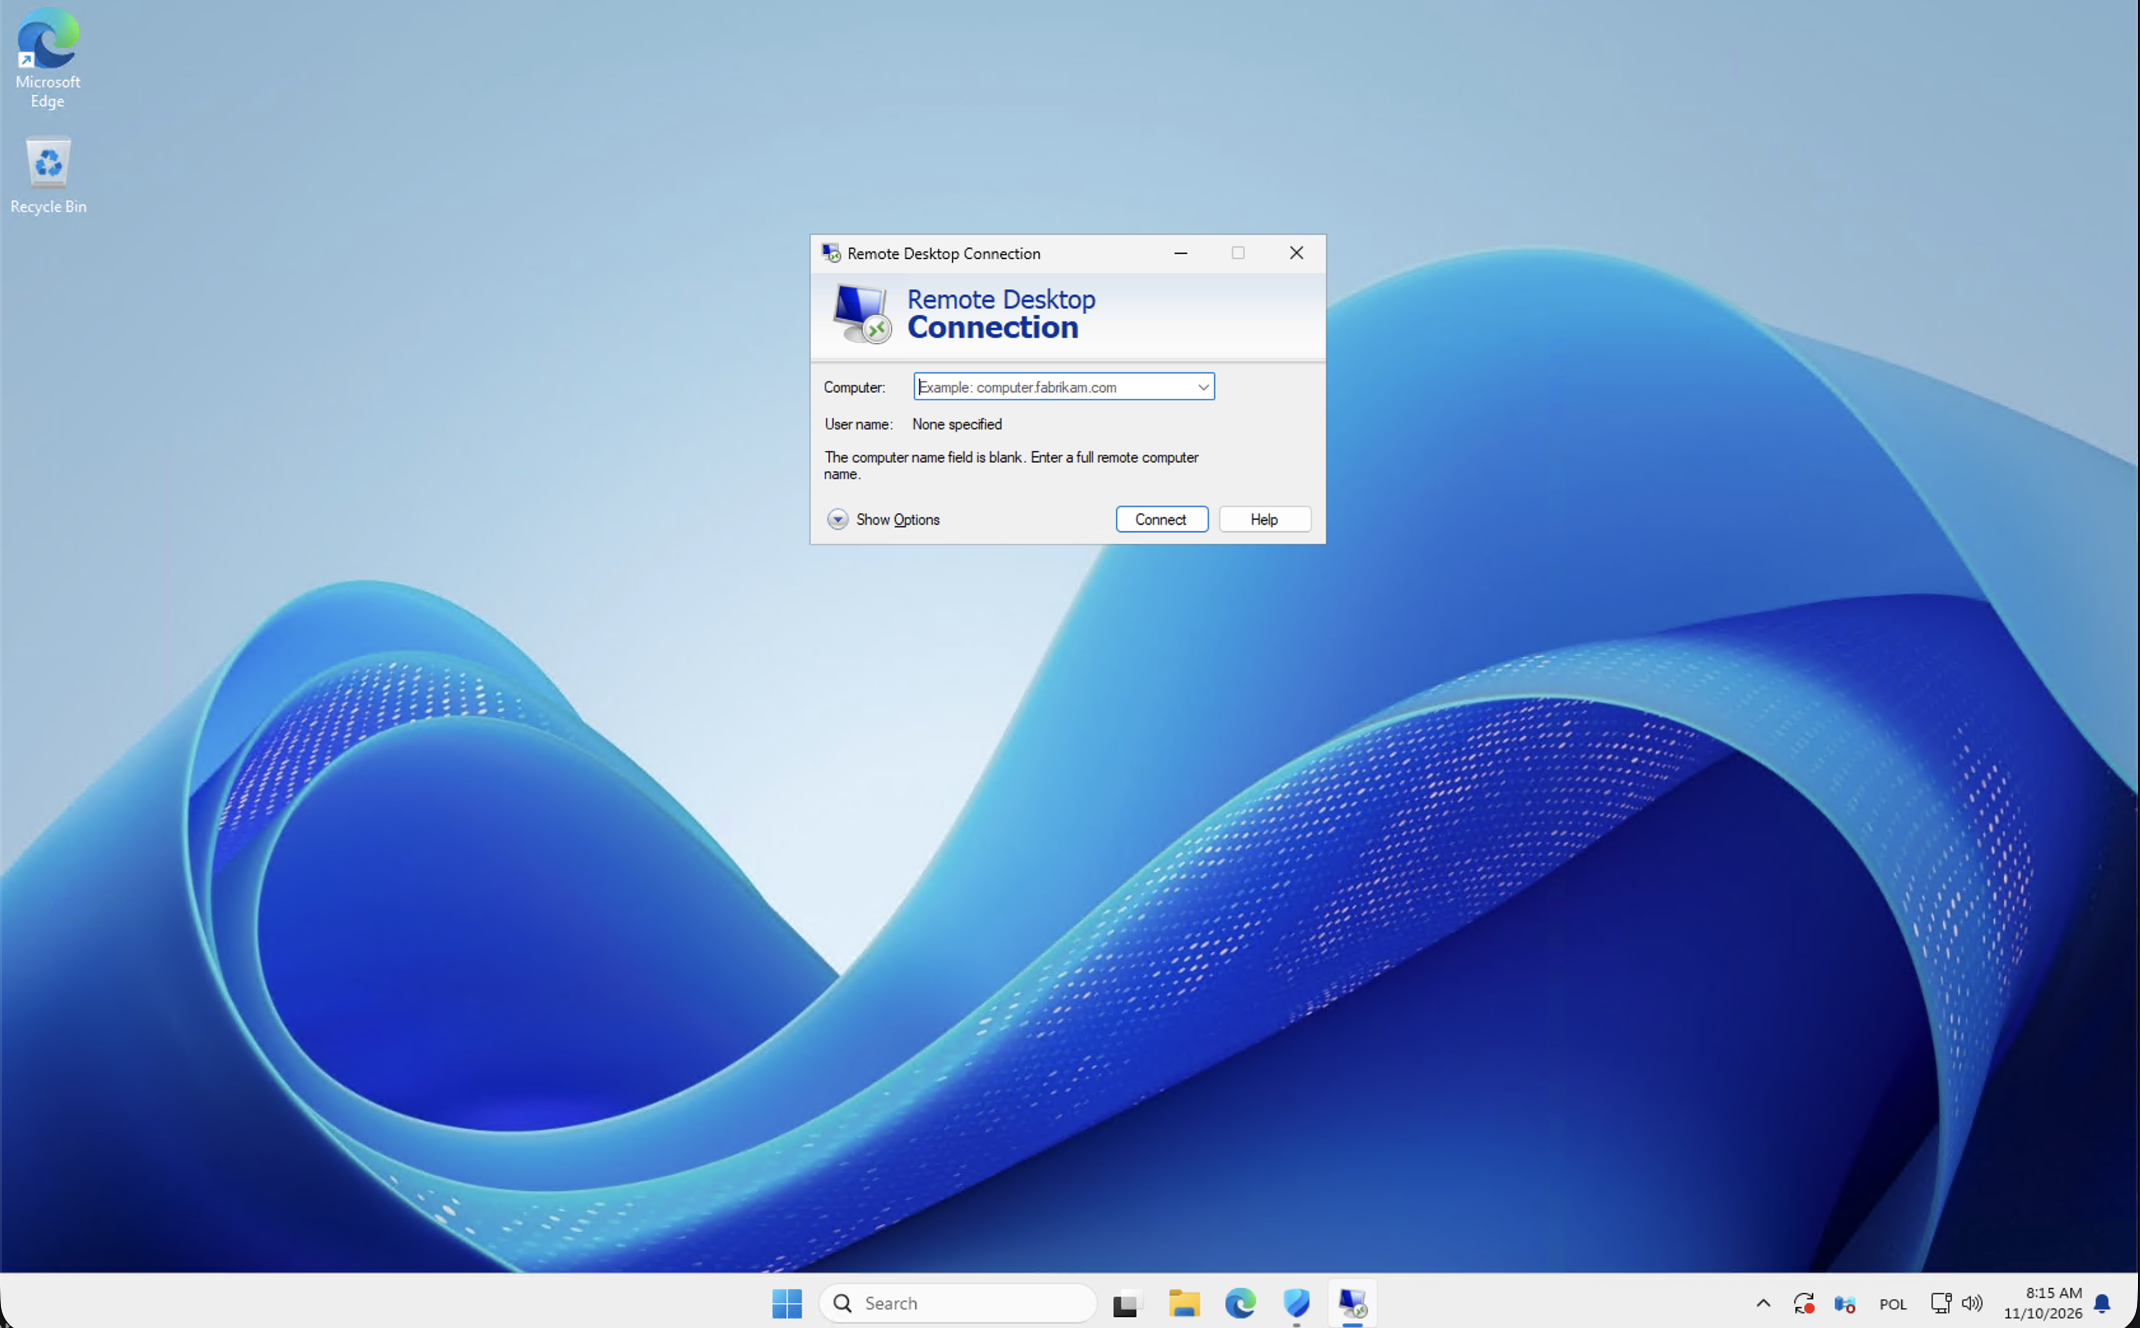
3. Check the destination in the credentials prompt
The third screenshot shows the Windows Security prompt asking for a username and password. The destination address is visible in the prompt and behind it in the connection window. Compare it with the service handover before entering credentials, particularly if you manage several servers or have previously saved connections.
Enter the assigned account in the format supplied by your administrator. A domain account might use DOMAIN\username or a user principal name. A local account can require the remote computer name as its qualifier. These are account-context choices: changing between them at random can send the correct password to the wrong account context.
Type the password into the protected password field. Check the keyboard layout and Caps Lock if the sign-in fails. Do not include the password in a support ticket or screenshot. If details appear correct, stop repeated retries and ask the authorized administrator to check the account rather than risking a lockout.
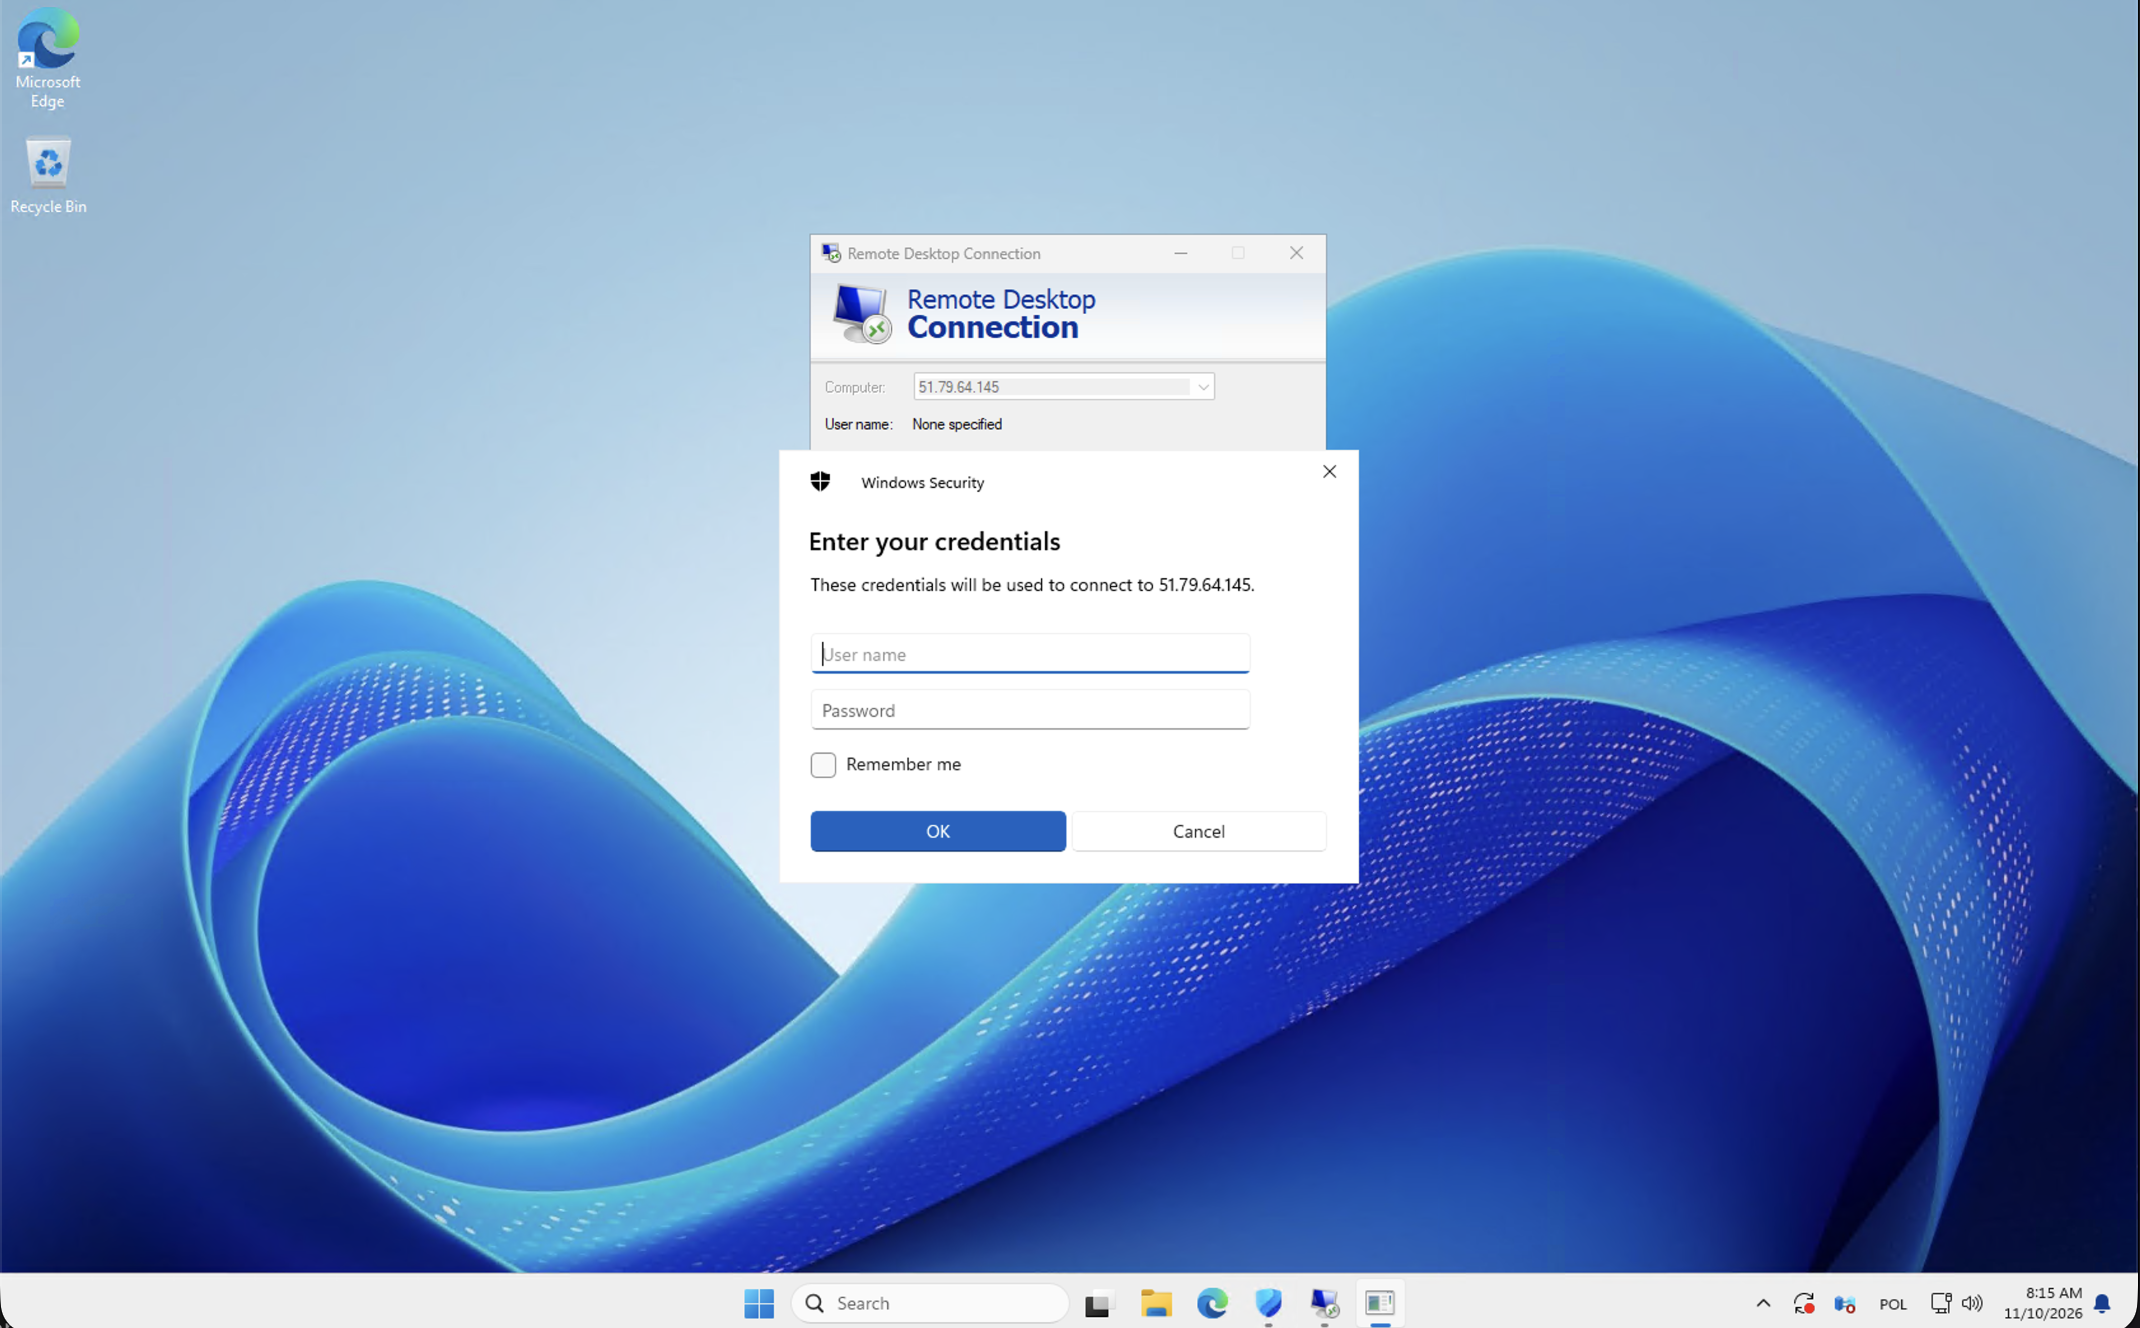
4. Review the completed sign-in form
The fourth screenshot shows Administrator in the username field and a masked password. That is the account used in the illustrated administrative example. Ordinary employees should use the individual accounts assigned to their roles rather than share an administrative identity.
The Remember me box is selected in the image. Credential saving is optional and should follow your organization’s device policy. Leave it unselected on a shared, temporary or otherwise unsuitable computer. A convenient saved connection is not a reason to let another person reuse your account.
After reviewing the destination and account, select OK. If a server-identity or certificate message appears, verify it through the approved information for the service before accepting an unfamiliar identity. The screenshots do not show a certificate decision or the remote desktop after sign-in, so those later checks must be performed in the actual session.
Verify that the remote session is the right one
Once the remote desktop opens, confirm that it belongs to the expected service and that you are signed in as the intended user. Test the actual business task: open the approved application and a representative folder, and confirm that the permissions match the role. A desktop appearing on screen is only the start of service verification.
Distinguish disconnecting from signing out. Depending on policy, disconnecting can leave a session and its applications running, while signing out closes the session and can discard unsaved work. Follow the application owner’s instructions before leaving a database import, accounting operation or other long-running task unattended.
Troubleshoot the stage that actually failed
- The Computer field is blank: supply the assigned destination. The message shown in the second screenshot is not a password error.
- The connection times out: check the address, approved VPN or gateway and the time of failure. Report whether other users can connect.
- Credentials are rejected: check the username format, keyboard layout and account status. Avoid repeated guesses.
- Sign-in succeeds but an application or folder is unavailable: record the application or path and the exact error. This can be a permissions or application issue rather than a transport failure.
For support, provide the service identifier, failure time and time zone, the client used and the exact error. Keep passwords and unrelated personal information out of the ticket. If you need a prepared environment for individual user access, explore managed Windows VPS hosting. For multi-user access planning, read the RDS licensing guide for Canadian businesses.
Official Microsoft references
Microsoft documents the client and its connection parameters in the mstsc command reference. The Remote Desktop connection overview explains the client-side connection process and distinguishes the connecting device from the computer receiving the session.
 How to connect to your Windows VPS using Remote Desktop
Connect to a Windows VPS from Windows or macOS using the approved Remote Desktop client. Learn account formats, certificate checks,…
 What is included with a managed Windows VPS plan?
Understand Managed Windows VPS scope, onboarding, licensing, backup retention and application responsibilities. Use a practical handover…
 Choosing Windows Server 2019, 2022 or 2025
Choose Windows Server 2019, 2022 or 2025 using application support, dependencies and lifecycle requirements. Plan a representative test,…
 NetCloud24 Free Hosting: 5 GB, DirectAdmin, SSH & Node.js
NetCloud24 H1 gives you 5 GB of free web hosting storage, your own domain, DirectAdmin, SSH access and Node.js. There are no compulsory…
